How to use the “Try it out” feature on TinyURL API?
TinyURL OpenAPI allows API testing directly on the TinyURL API documentation page using the Try it out feature. This page walks through the key details on the documentation page and how to use “Try it out” feature with /create endpoint to create TinyURLs.
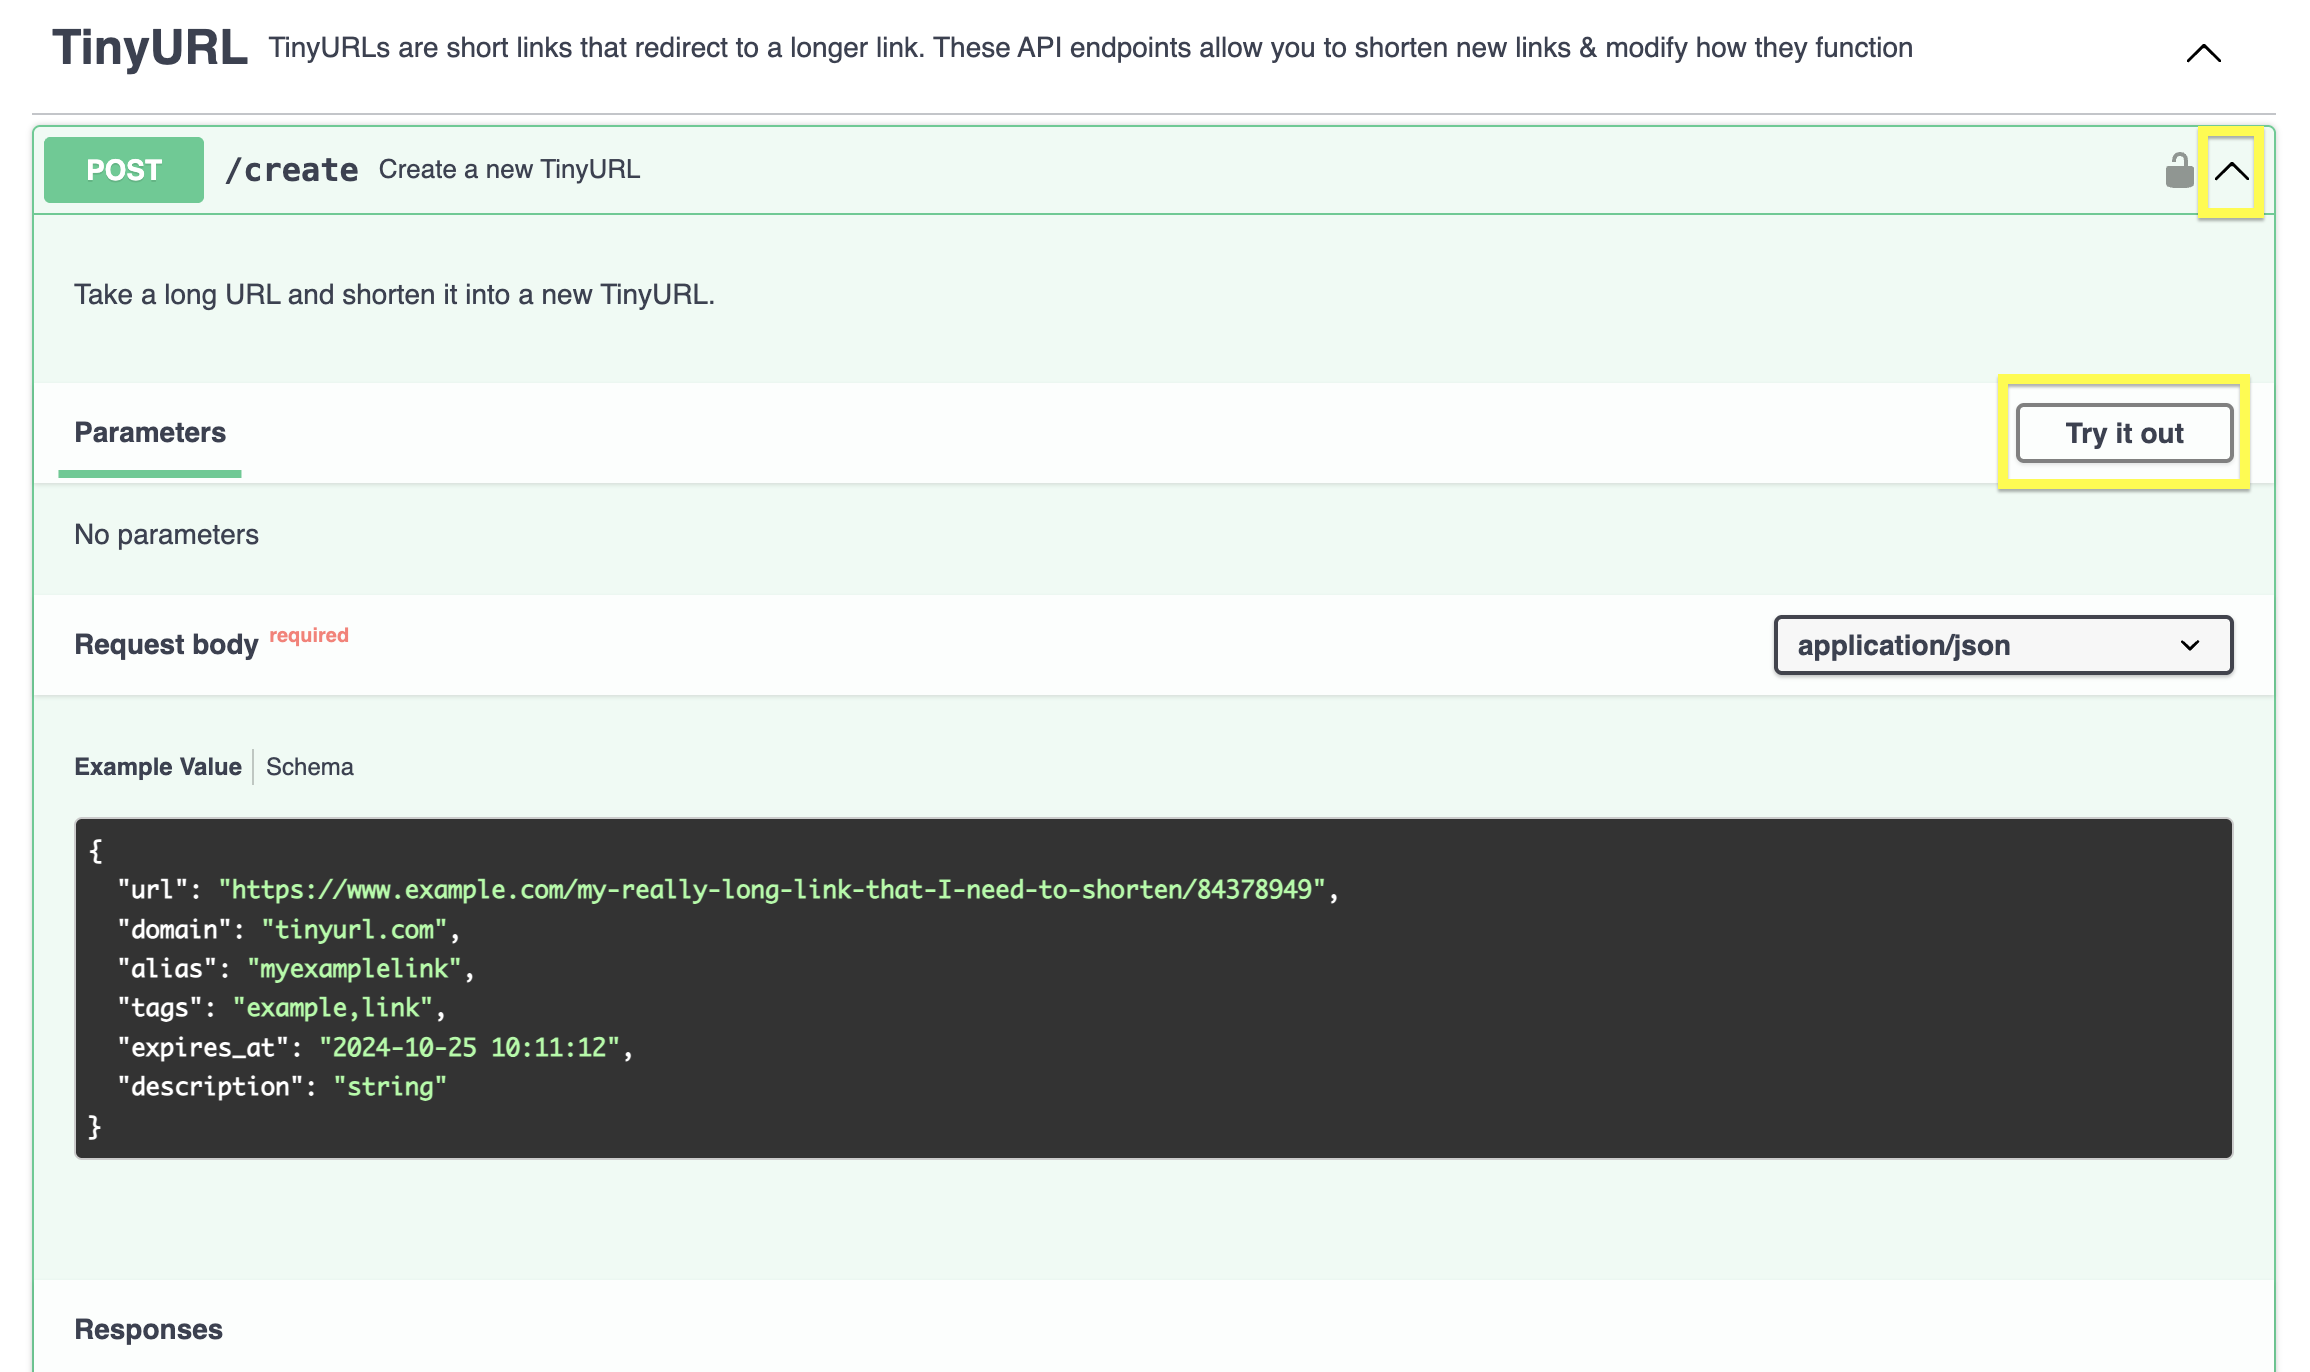
The following screenshot highlights the key details on the API page.
- On the left side, we have the HTTP Request Method used for each call like POST, GET, PATCH, PUT etc.
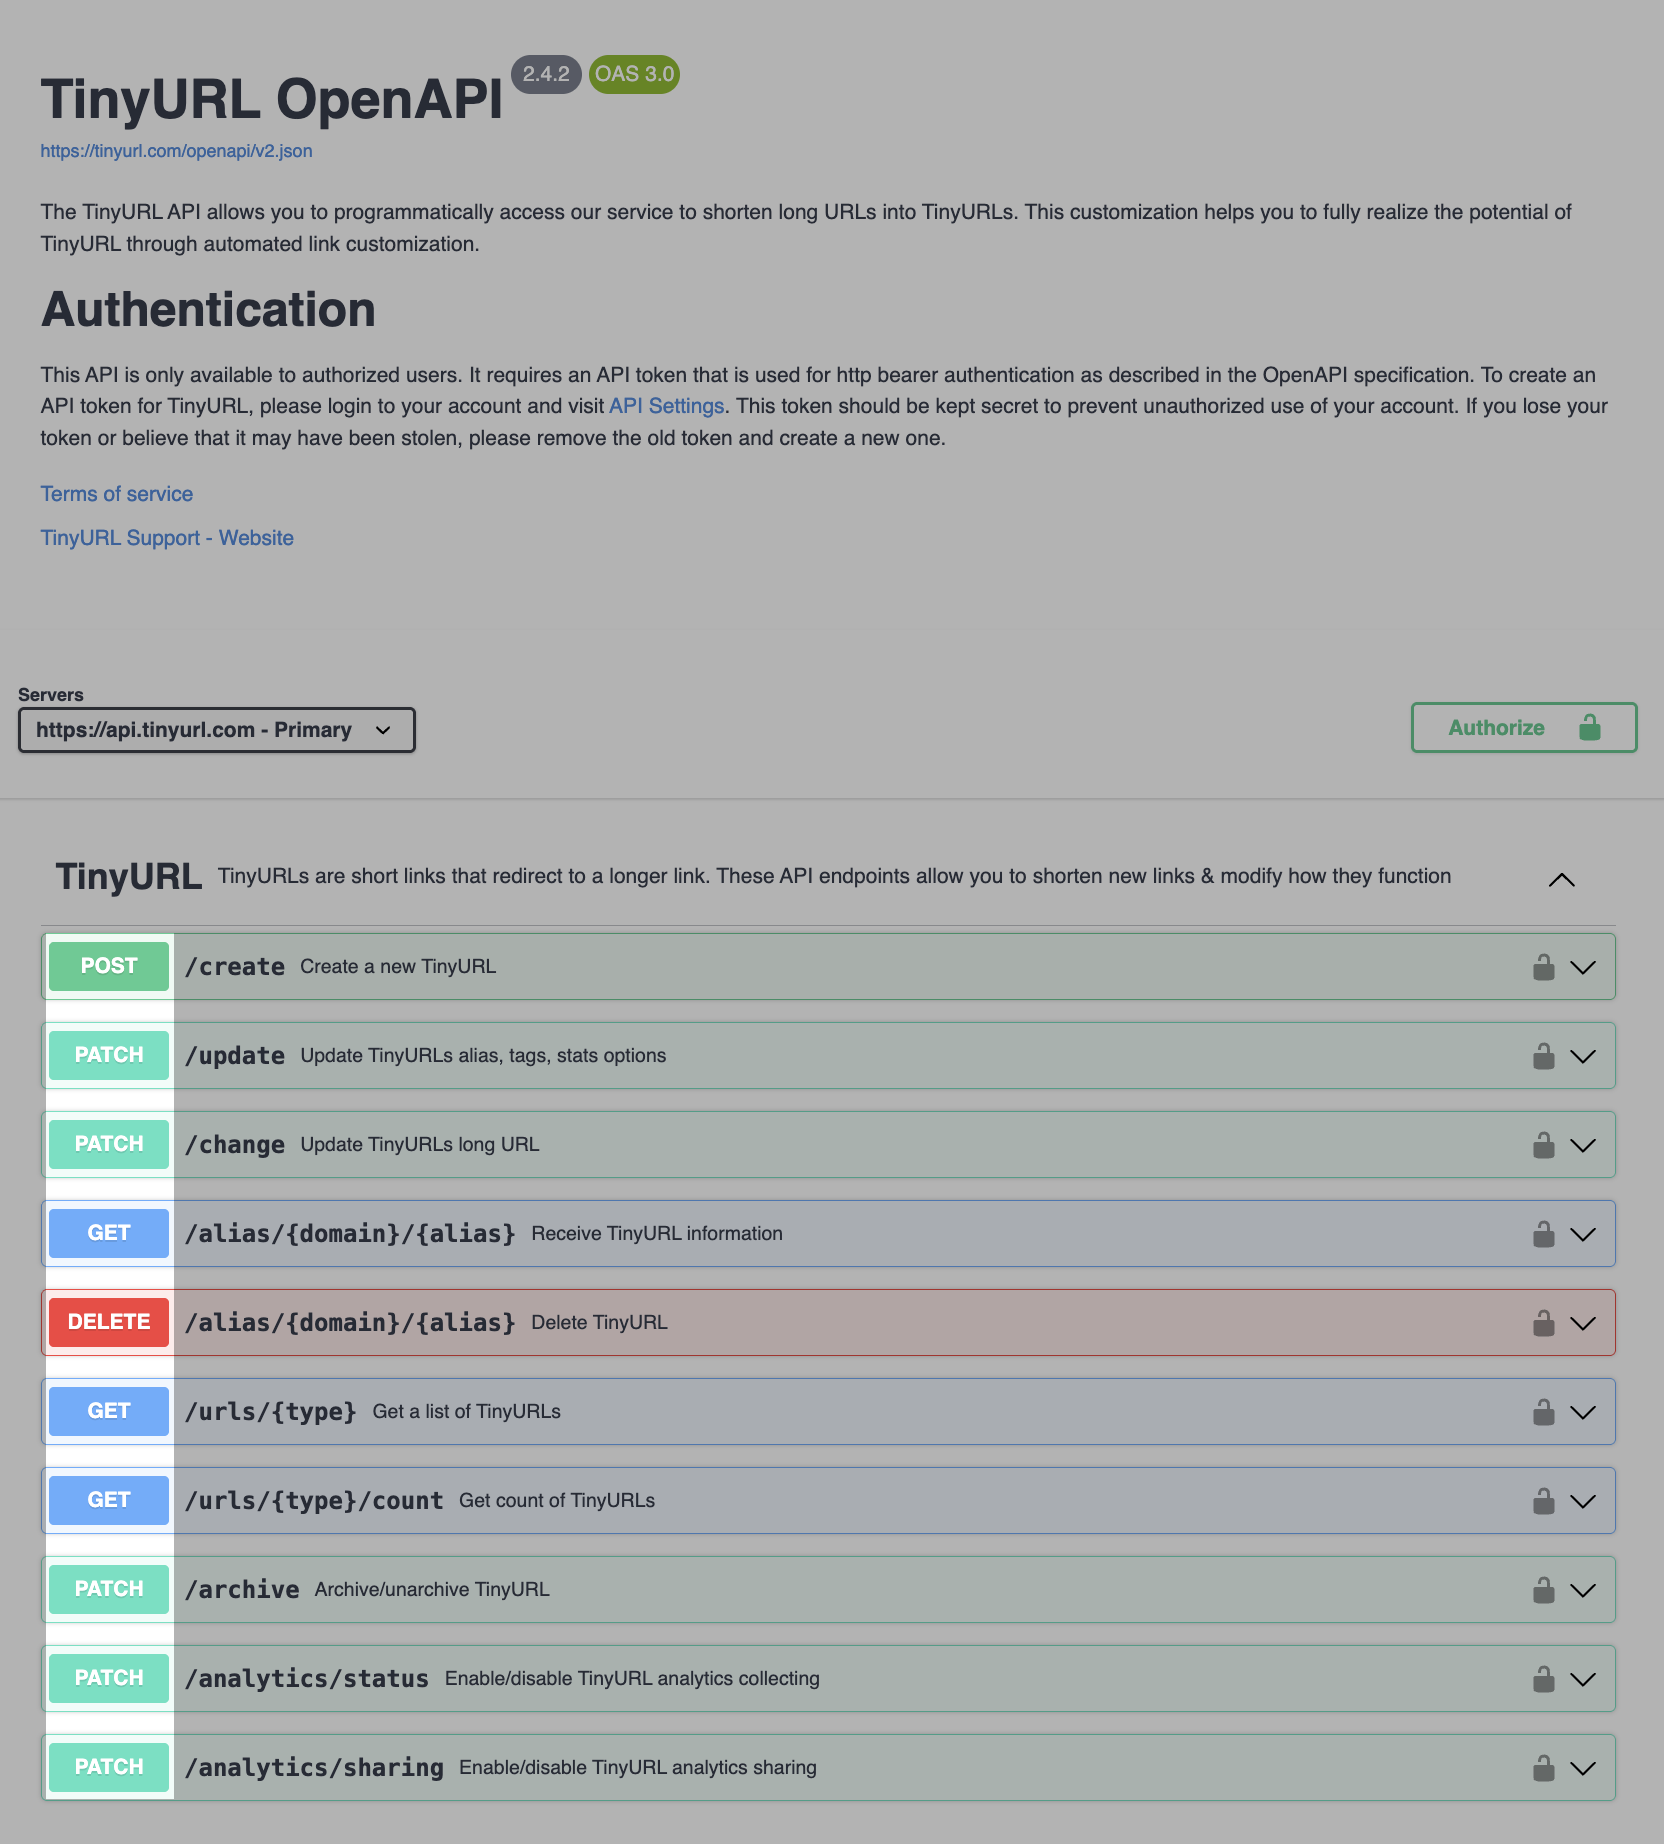
- Right next to it is the API endpoint used for making calls to TinyURL, followed by a brief description.

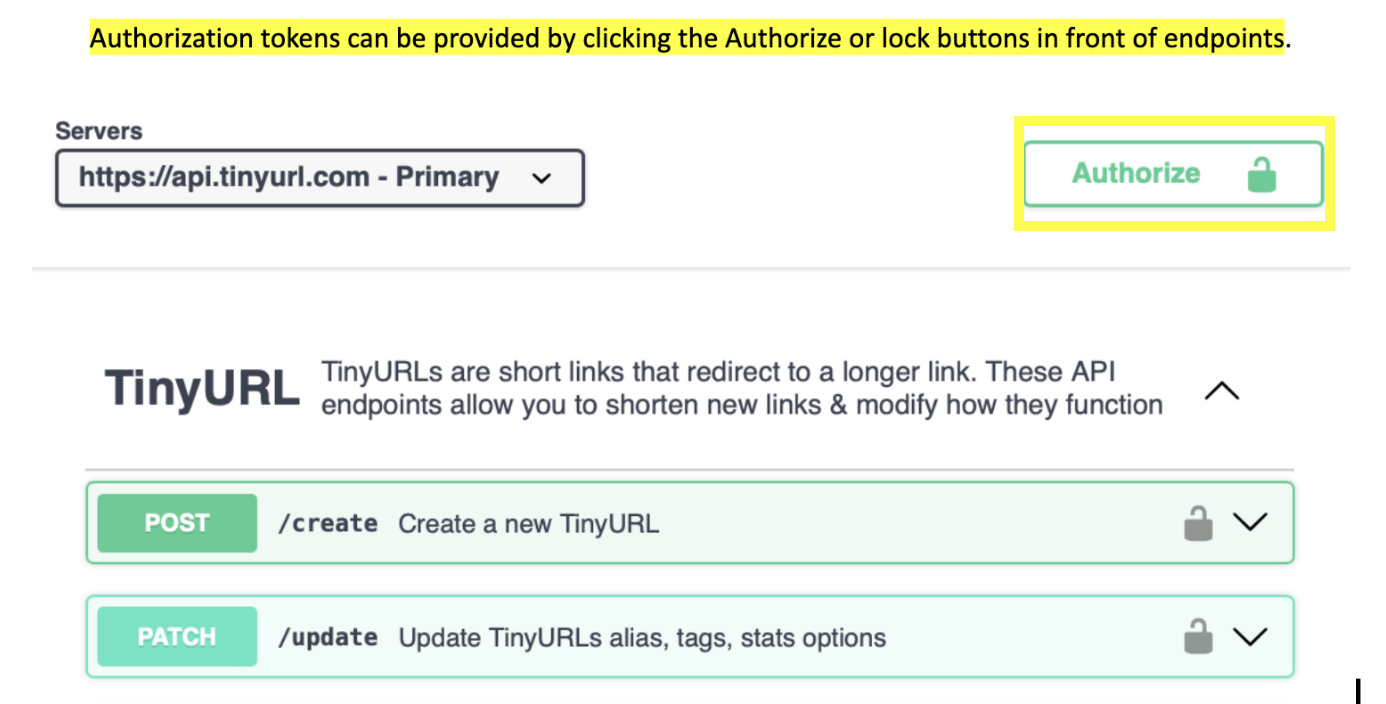
- On the right side, we can see the lock buttons which are used to authorize the API calls made via this tool. It is possible to authorize using a single token for all endpoints (lock button in the top right) or use a specific token for each API endpoint (lock button in front of each endpoint)
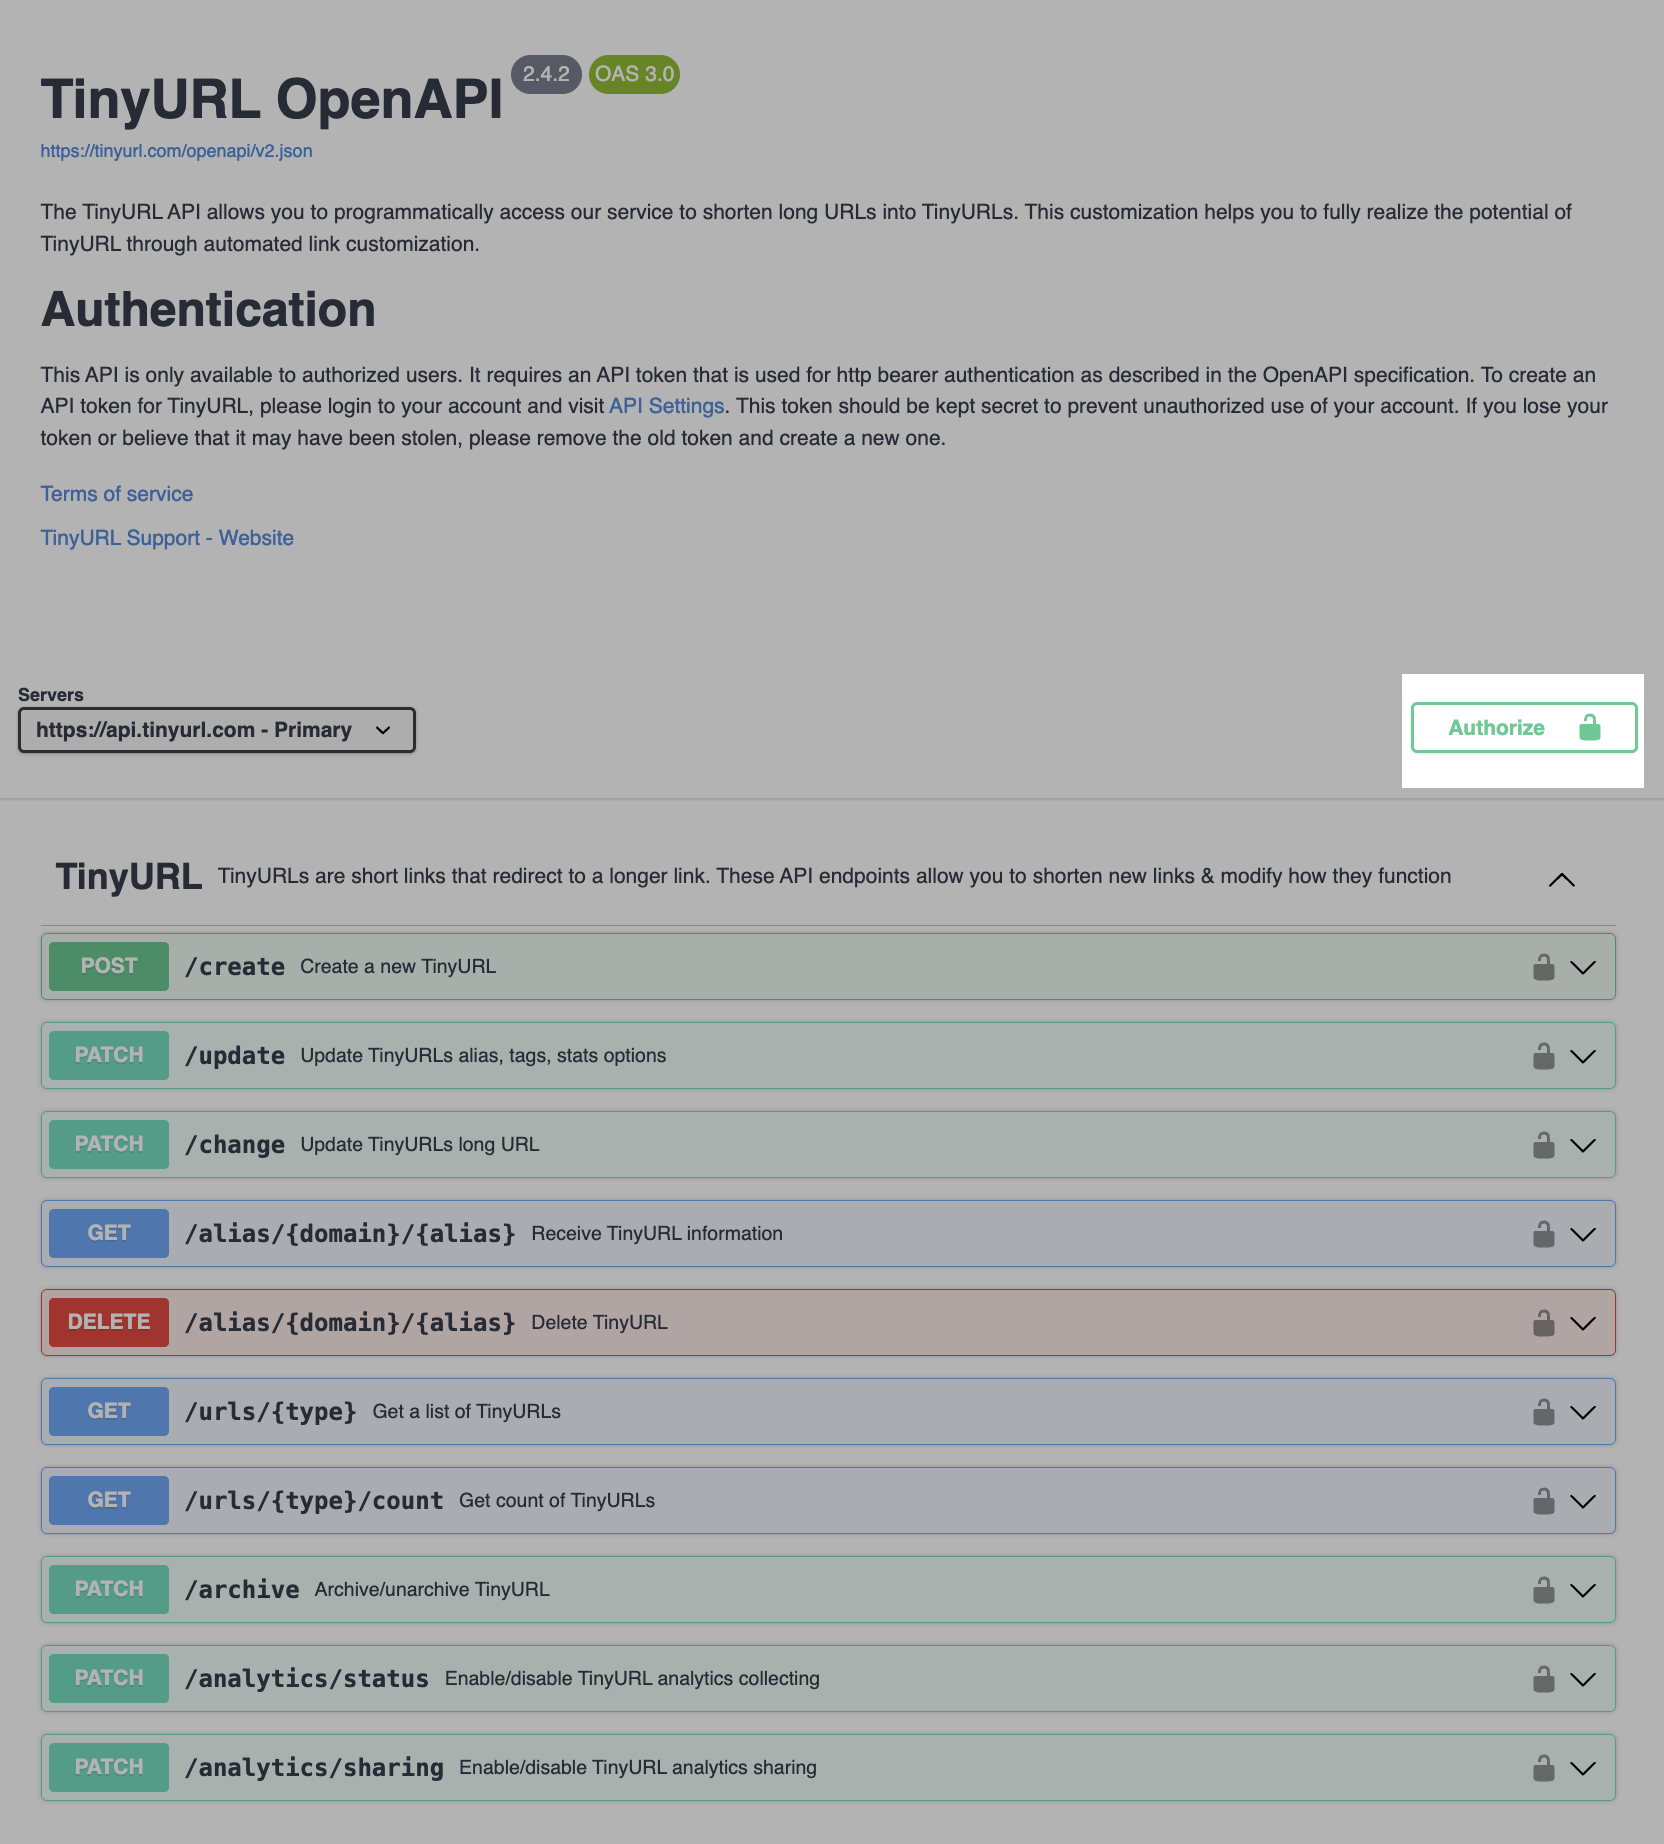

All the API endpoints can be tested without writing any code using the “Try it out” feature. Testing API endpoints usually requires two things:
- Authorization Token (API Token)
- Input parameters and Request body (if needed)
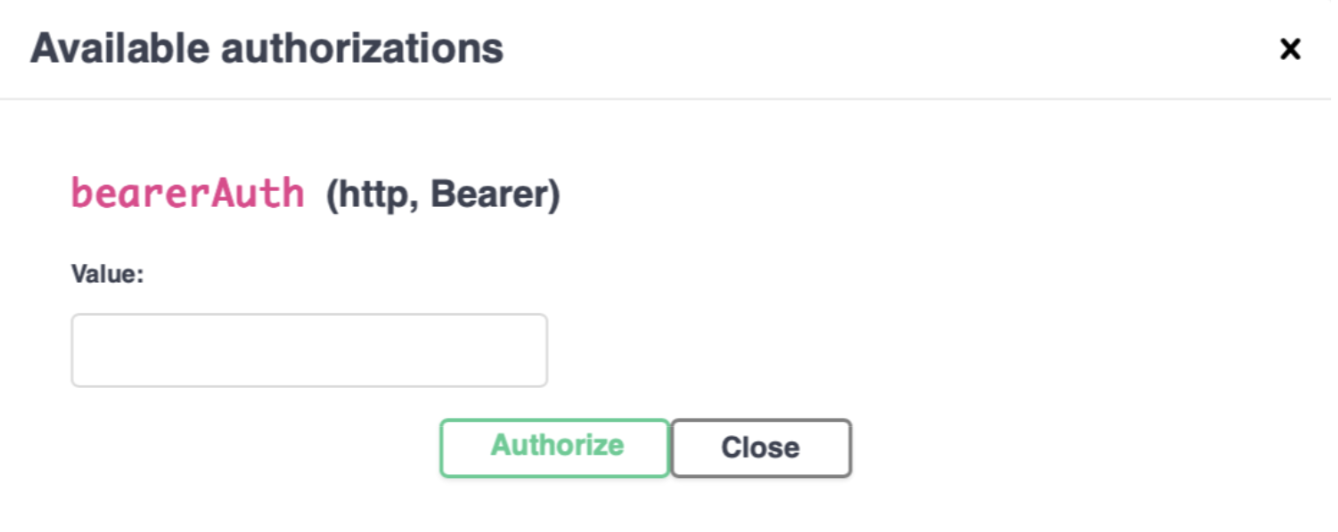
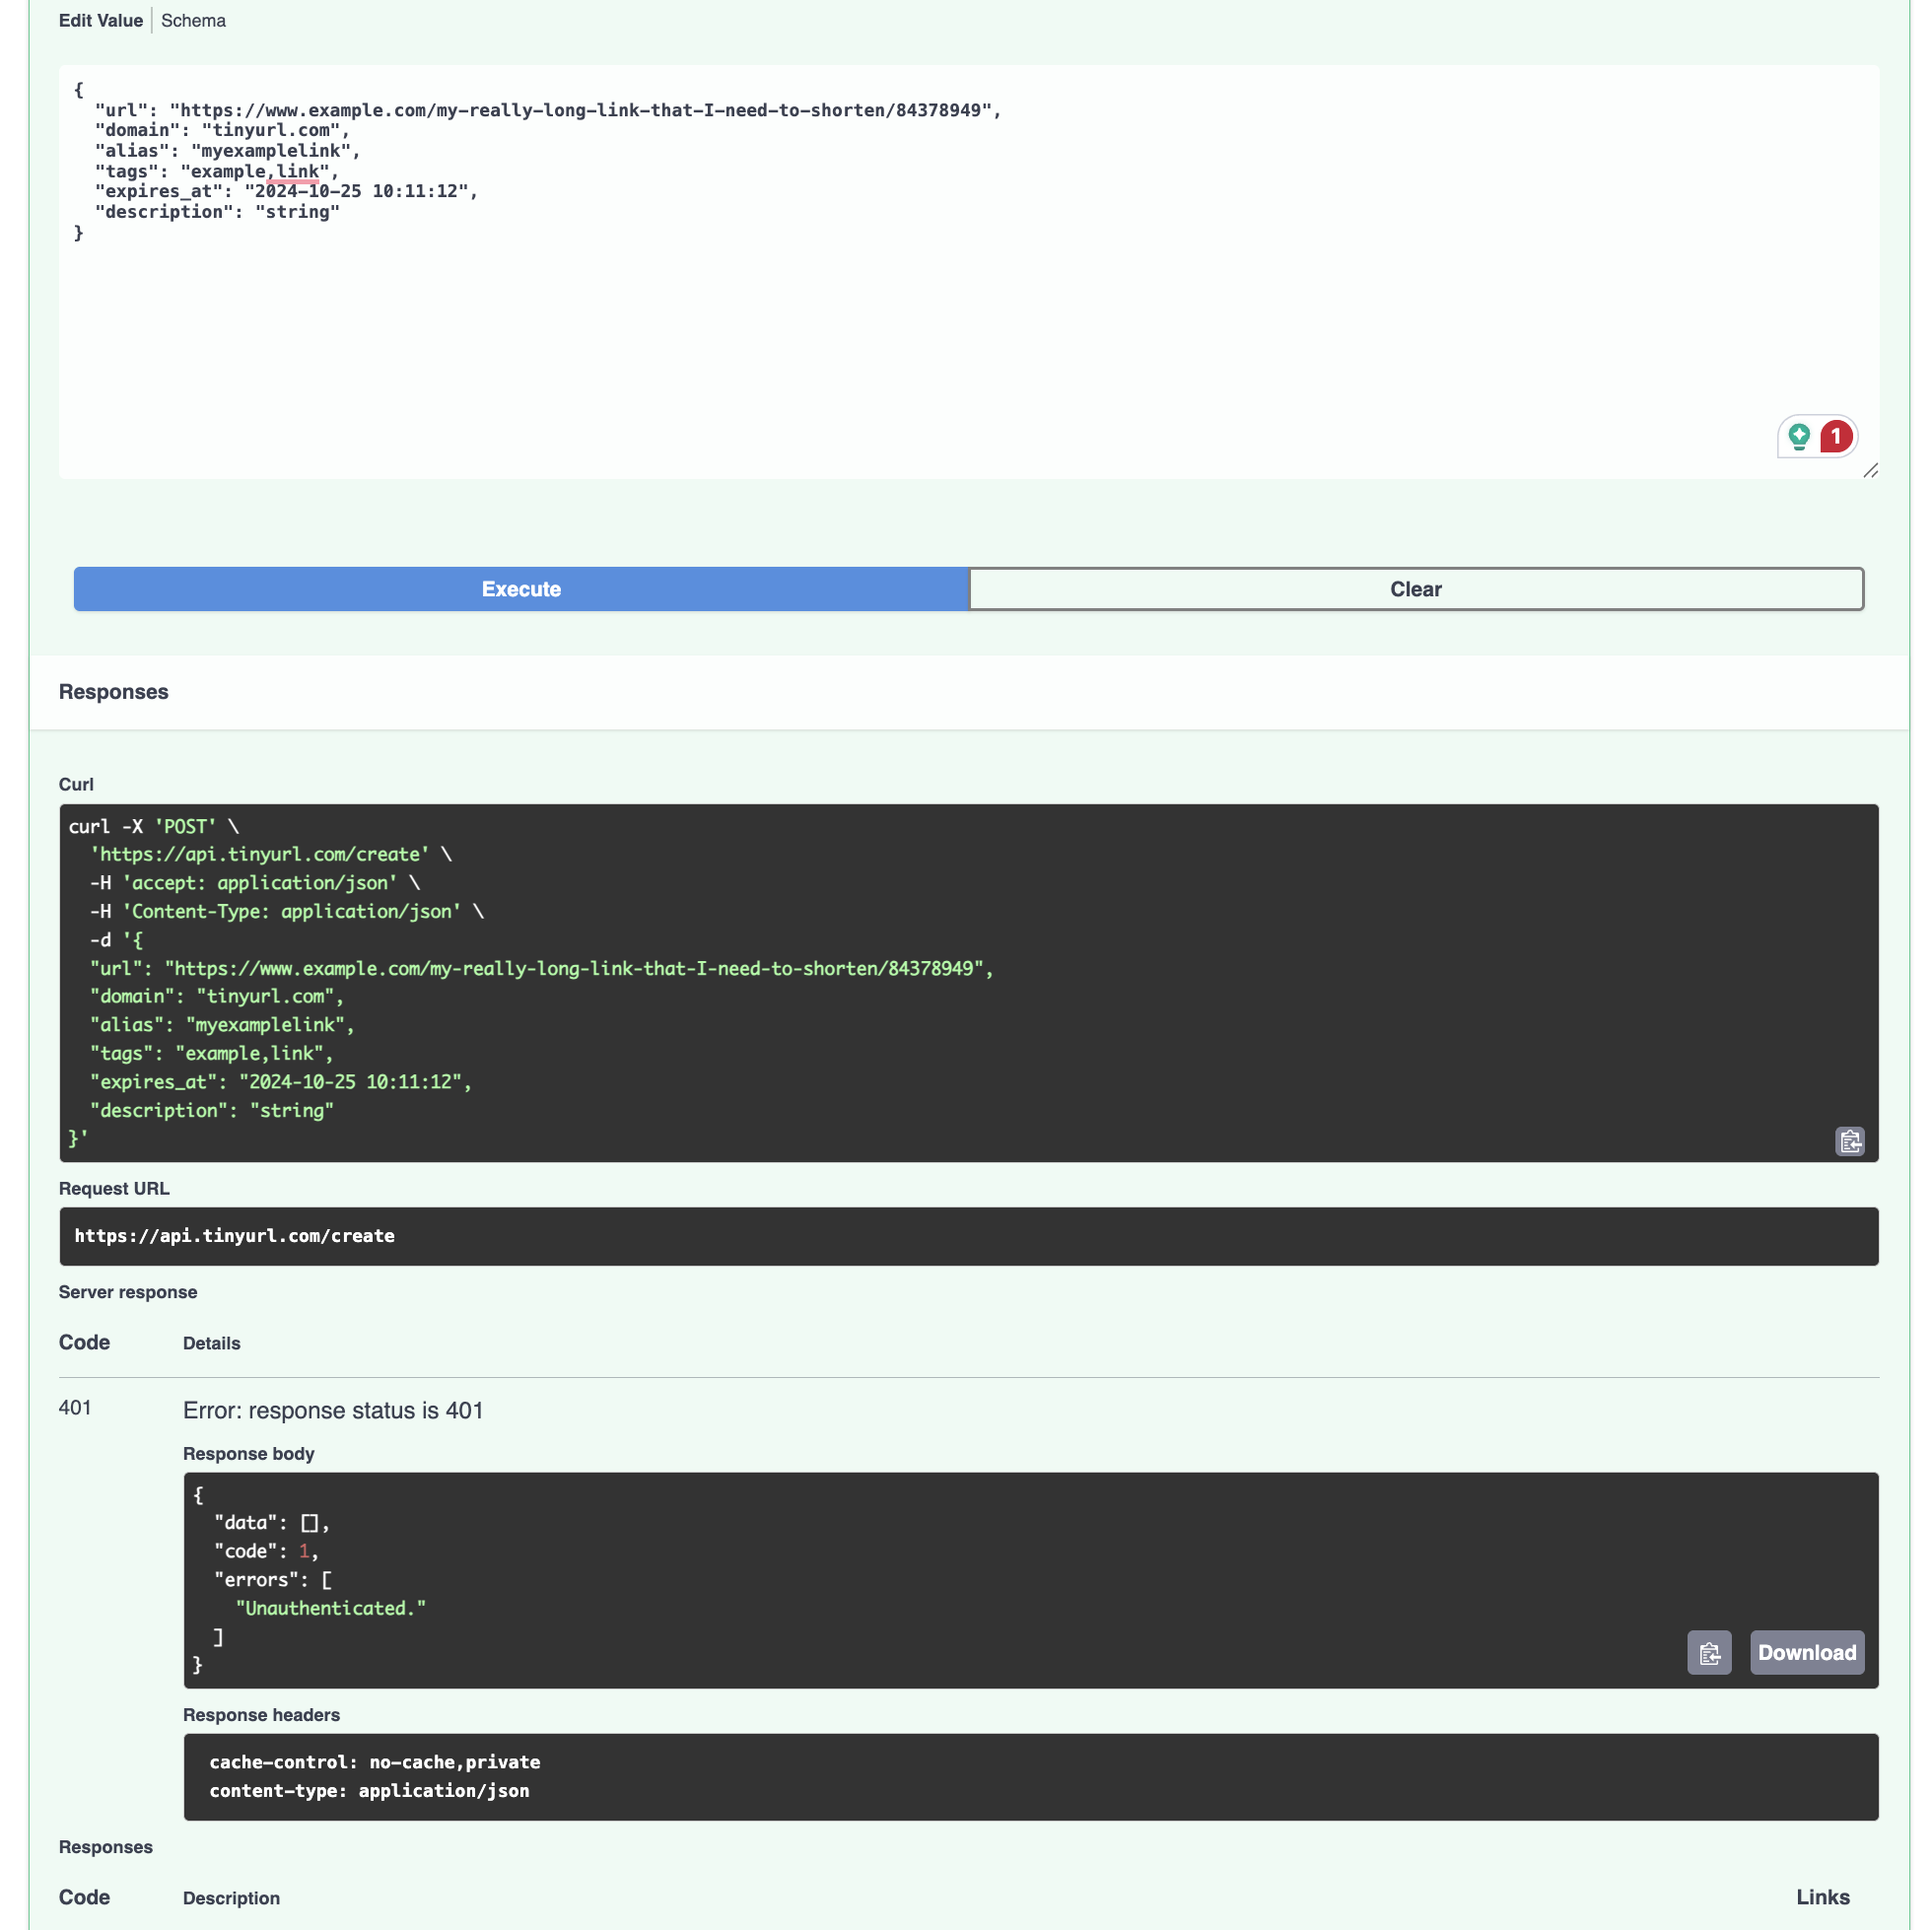
Once you click any of those buttons,a dialog box prompts you to enter your API token, which is valid for the current web session. You can enter the API token as the value for bearerAuth or tokenAuth.
When you expand an endpoint listing, you see possible input parameters, request body and example server responses. Example server responses are a good way to understand the behaviour of the TinyURL API. Different response codes and error messages help you narrow down potential problems in your usage. Some parameters include a default or a list of allowed values.
Here is a detailed guide on how to create a TinyURL using API.
- The first step is to generate an API token with permissions for “Create TinyURL”. Please refer to “How to create or modify an API token with specific permissions?” if you want guidance on how to create API token with specific permissions
- Once you have created the token, please go to the TinyURL API and authenticate the browser session using the instructions given above.
- The next step is to use the Try it out feature on the API page with the POST
/createendpoint. Simply expand the endpoint by clicking anywhere on the POST/createrow and then click the Try it out button.
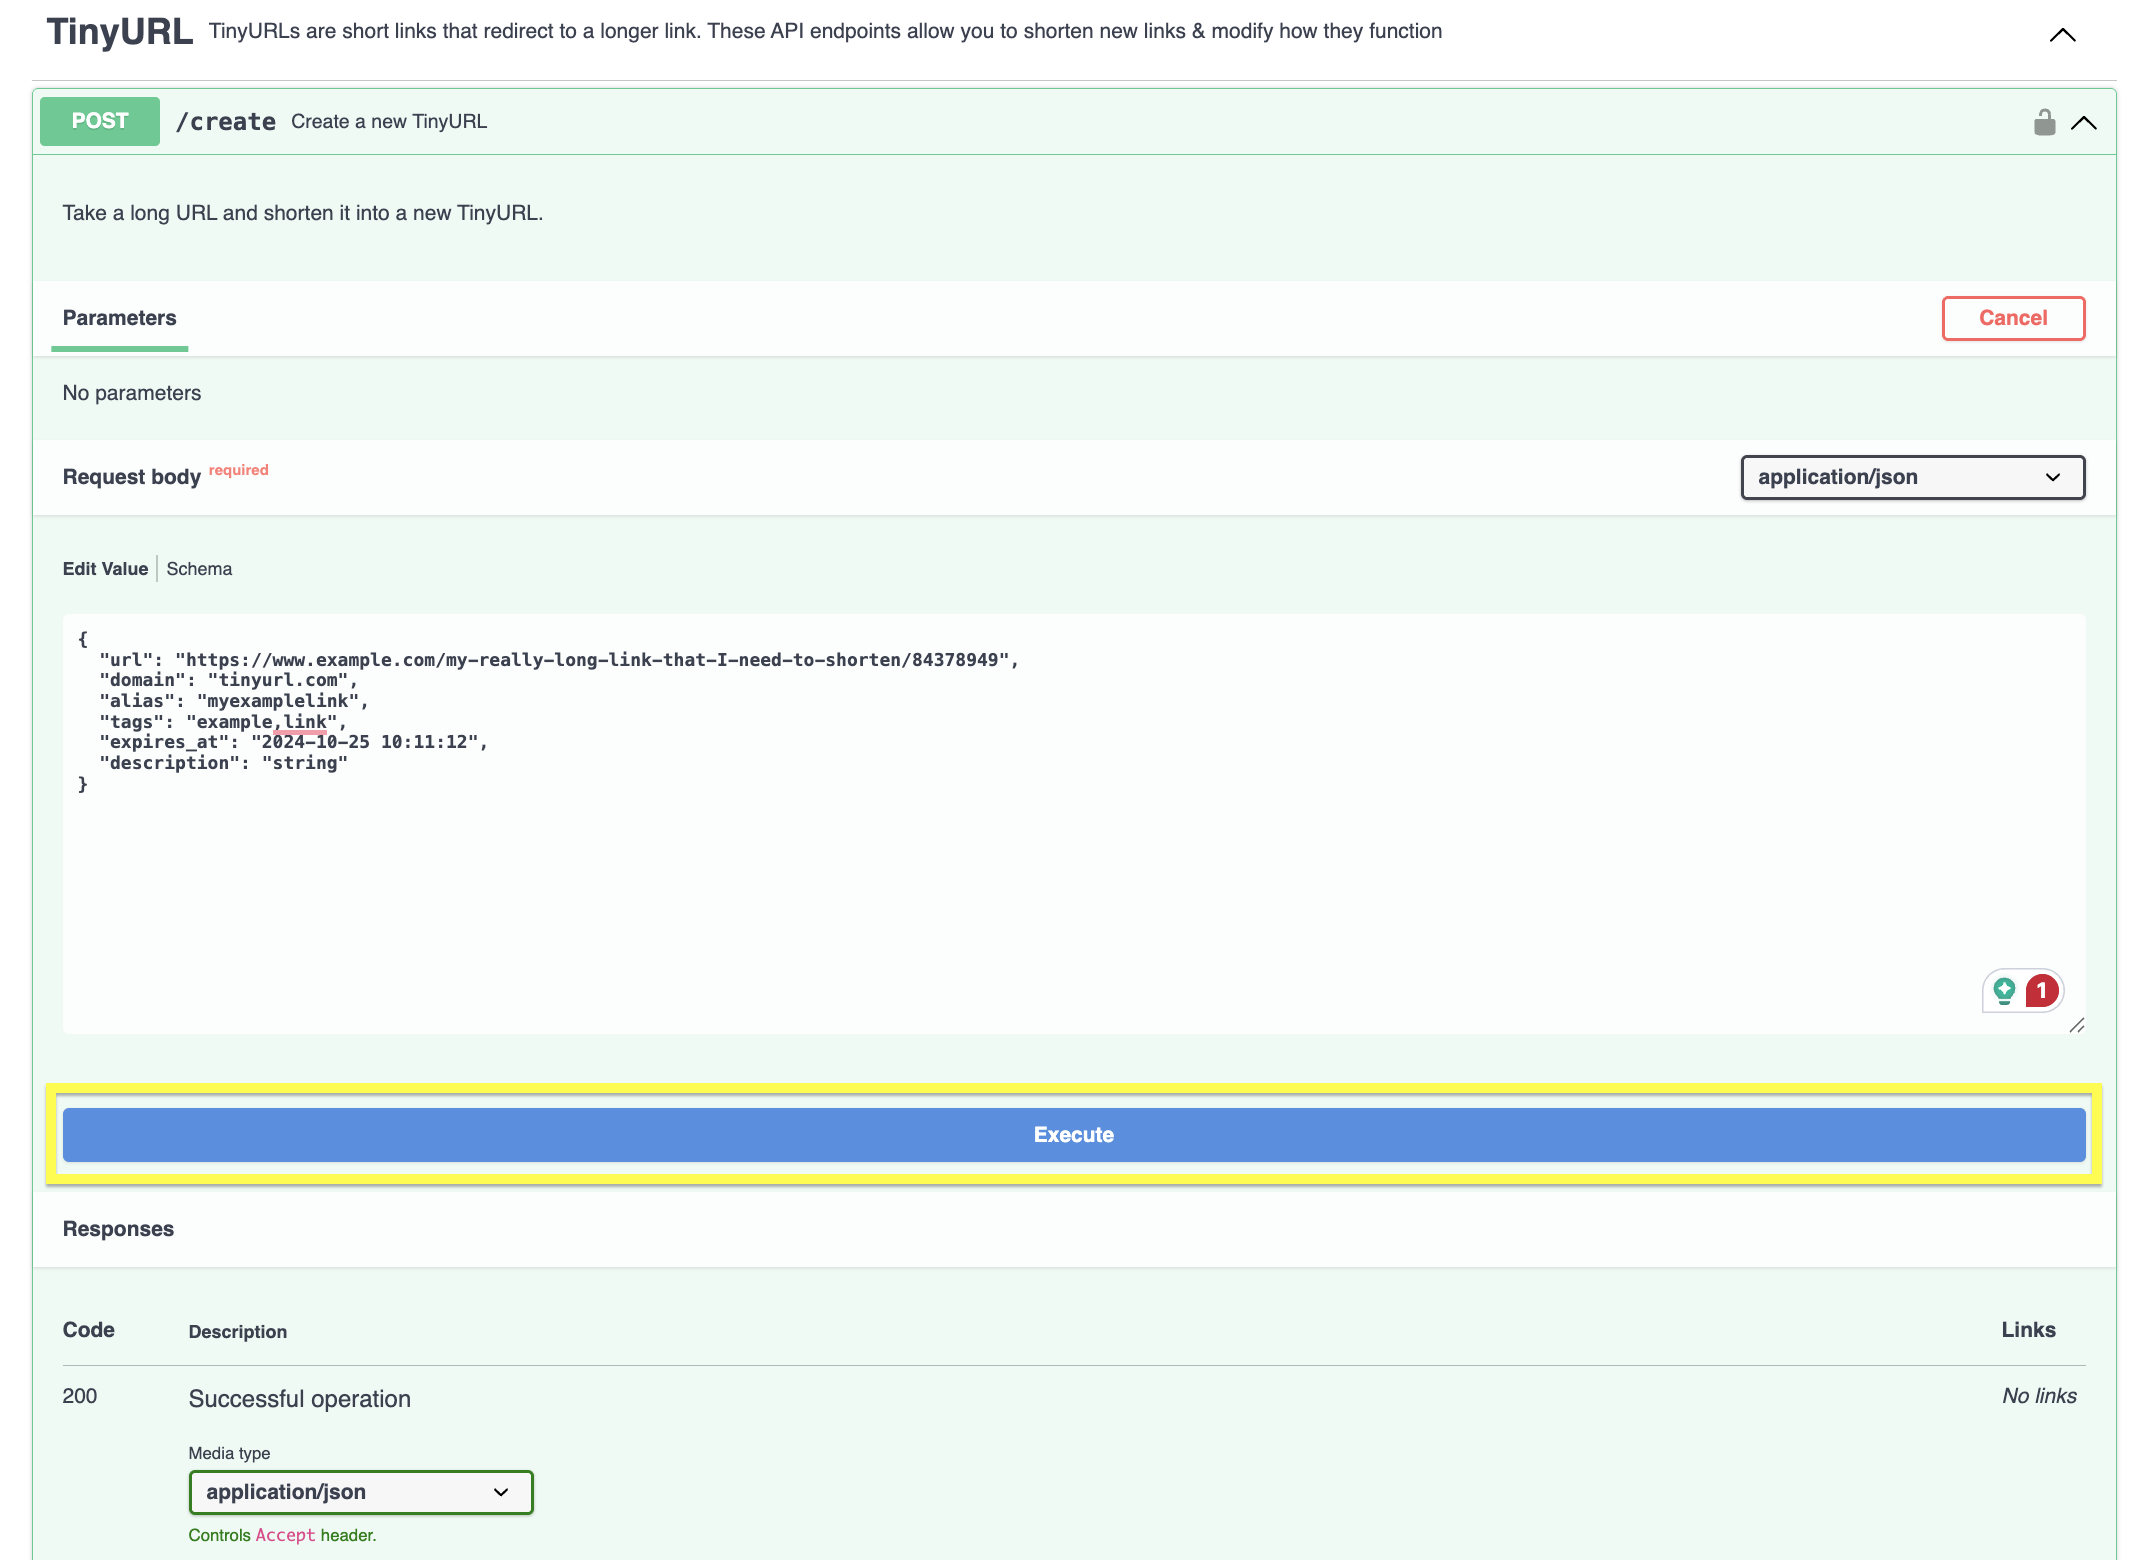
- Once you click “Try it out”, the Request body below is now editable. The only field necessary for creating a TinyURL is url which is the destination URL and rest of the fields are optional. For example, the following is a valid Request Body,
{
"url": "https://www.example.com/my-really-long-link-that-I-need-to-shorten/84378949"
}
- Clicking “Execute” button with the above body should result in the following successful response from the server, which means that you have successfully created a TinyURL using the API.
- If needed, you can specify additional details such as a branded/custom domain, custom alias, tags or expires at in the input Request body.
Please note that “description”, “tags” and “expires_at” will only work with paid subscriptions. If you’re using a free account, you need to remove or leave these fields blank before processing your API request. API tokens must have the appropriate permissions.
{
  "url": "https://mybranded.link/my-really-long-link-that-I-need-to-shorten/84378949",
  "domain": "tinyurl.com",
  "alias": "enterYourCustomAliasHere",
  "tags": "example,link",
  "expires_at": "2028-12-30 00:00:00",
  "description": "string"
}